Especificaciones de diseño para piezas cerámicas en 3D

4 02 2016

Fuente:https://i.materialise.com/materials/ceramics/design-guide

Here are some basic rules, tips, and tricks to design a printable model in Ceramics.

Design Specifications

Minimum Wall Thickness 3 – 6 mm

Minimum Details 2 mm

Accuracy ±3%, adds 1 mm of glaze

Maximum Size 340 x 240 x 200 mm

Clearance 4 mm

Interlocking or Enclosed Parts? No

Basic Rules, Tips and Tricks

Wall Thickness

In 3D Printing, wall thickness refers to the distance between one surface of your model and the opposite sheer surface.

Wall thickness defines the strength of your model; therefore, the minimum wall thickness of your design will be defined by the size of your model. In general, larger models need to be stronger. If the sum of the dimensions of your model is between 120 and 200 mm, you should use walls that are at least 3 mm thick. When the sum of the dimensions is greater than 201 mm but smaller than 300 mm, a minimal wall thickness of 4 mm is recommended. When the sum is larger than 301 mm but below 400 mm (above 400 mm is not printable), the walls should have a minimum thickness of 6 mm. These minimum values are a general guide but keep in mind that large pieces should have thick walls. Clicking on the image on the left will show you a small overview of the values we described above.

The maximum wall thickness is a lot easier. If your walls stay below 15 mm in thickness, you will be fine. Thicker sections will generate too much internal stress, causing the item to crack or even break.

Minimum and Maximum Size

Because of the machine size and the way ceramics are processed, we need your design to meet a minimum size as well as be smaller than the maximum size. The minimum size is set because smaller items are more difficult to glaze. The maximum size is defined by the maximum building volume of the machine for the characteristics of the material.

Unlike other technologies where a specific bounding box is given, ceramics requires you to do some math and add up the three dimensions of your model. If the sum of the X, Y and Z dimensions is between 120 and 400 mm, your model is good for printing. Models where the sum is below 120 mm or exceeds 400 mm are not possible at the moment. The maximum dimension in any one direction is limited to 340 mm because of limitations in the machine size (340 x 240 x 200 mm).

It’s easier to make a thicker piece than a really thin one and we want your design to fill up at least 5% of the bounding box. Thicker pieces cause fewer problems during production and transport because they’re less breakable. You might think that this minimum fill percentage drastically increases the price but, unlike other technologies, the price for ceramics is determined by the surface area. This means that you don’t get penalized for using a larger wall thickness as you would with other 3D Printing techniques.

Minimum Feature Size

A feature should have a minimum size of 2 mm to come out nicely. The glazing reduces the definition of features because it adds an additional layer of up to 1.5 mm on top of the piece.

Overhang Size

It’s important to design your model with limited overhangs. Overhangs are features that stick out from your model. Make sure to limit the overhangs to 20 mm for sections with a wall thickness of 3 mm, 50 mm for sections with a wall thickness of 4 mm, and 90 mm for sections with a wall thickness of 6 mm.

Rounded Corners

For an even application of the glaze, avoid sharp edges as much as possible. We recommend applying a fillet with a minimum radius of 2.0 mm to sharp corners. Also, any joining faces should have a minimum radius of 2.0 mm.

Minimum Feature Opening

Because of the glazing process, openings that are too small can get sealed by the glaze. Therefore, the minimum feature opening size is 5.0 mm. For hollow parts, the part must include an opening for powder removal that is at least 10 mm in diameter. Enclosed areas might be missed during glazing since it will not be able to reach these areas, so it is important to make sure that any openings are large enough so the glaze can be applied.

The Necking Effect

Try to avoid the so-called necking effect, where your design goes from a thick area to a thin one. This will create internal forces in your design that could cause the model to break during production or afterwards.

Thin struts cannot be attached to large unsupported sections. To avoid problems, try to imagine what will happen when gravity is applied to your design. This explains why large sections should be lower in the part and cantilevered struts should be less than 20 mm long. For example, with figurines, make sure the head is firmly attached to the body and that the model is stable and has a base.

To Glaze or Not to Glaze

In order to apply the glazing, a model needs to have an obvious base. This is because your design will have to stand or rest inside of the firing oven to become strong and receive glaze. Without a base, you will end up with an area where no glazing will be applied. In some cases your model can be hanged during the process but this will still leave a strip of unglazed ceramic.

Glazing (thickness)

Glaze will add thickness to features and can add up to a maximum of 1.5 mm in thickness. However, because of the nature of glazing, some geometries may cause uneven distribution of the glaze. An example of this is the bottom of the inside of a cup where the glaze will be thicker than on the sides.

Clearance

Unlike polyamide, it’s impossible to have moving parts in a ceramic design. Pieces that «fit» together are difficult, but if you must build this into your design, please keep a clearance of 4 mm.

Engraved Text and Surface Details

When placing embossed text on your design, the minimum point size for raised text is 36 points or 12.7 mm (0.5 inch), and it must stick out by at least 2 mm. For engraved text, your text will need to be a little larger to take into account the thickness of the glazing. We recommend a minimum size of 60 points or 21.2 mm (0.83 inch) for engravings, with a depth of at least 3 mm.

mas presupuestos e información en :
https://i.materialise.com/

Portapapeles01


Unboxing la nueva SLA

3 02 2016

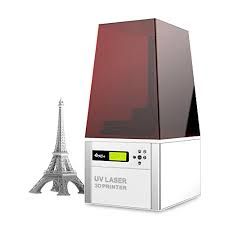
Acabamos de recibir la impresora SLA, de la casa xyzprinting. La impresora es la Nobel 1.0.

En breve os subiremos fotos del proceso de puesta en marcha. Podeis ver un video de el proceso de funcionamiento.


xyz

video demostrativo.


Participación en el Primer Congreso de Impresión – Diseño 3D y Makers para Alicante

18 01 2016

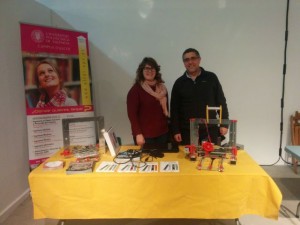
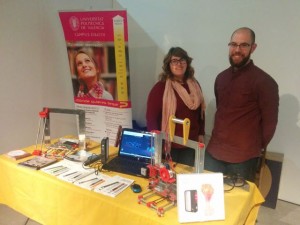
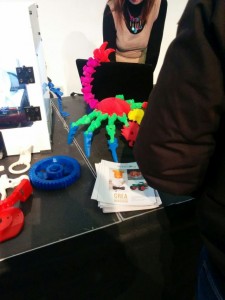
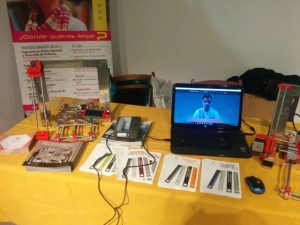
El sabado 16 de enero participamos en  el Primer Congreso de Impresión – Diseño 3D y Makers para Alicante.

Os paso fotos del evento

IMG_20160116_103200 IMG_20160116_181817 IMG_20160116_124908 IMG_20160116_124846 IMG_20160116_111632 IMG_20160116_105048


Preparando LUCENTUM 3D para los dias 16-17 de enero

14 01 2016

Estamos preparando la participación en  la 1ª Feria de Impresión 3D, Diseño 3D y nuevas tecnologías para la provincia de Alicante, que se celebrará el proximo 16 y 17 de enero en la Cigarrera (Alicante).

Portapapeles01Portapapeles02


Las charlas que se impartiran son:

SABADO

10:30 Presentación Lucentum 3D (Asociacion MAKER ALC)

11:00 Presentación FabLab Alicante

11:30 Patrimonio Virtual y nuevas tecnologias (Patrimonio Virtual)

12:00 Presentación OpenRov, Un dron submarino

12;30 Presentacion FloDrone Panorama de los drones voladores en España

17:00 Presentacion Relieves 3D (Educación)

17:30 Arduino la revolución Maker (Miguel sanchez UPV)

18:30 Escaneo 3D (Printed Dreams)

19:00 19:20 Presentación Impresión 3D y aplicanciones médicas,(Empresa Tikoa)

19:20 20:52 Moda impresa. Pase de modelos (Darkness. Rocio Izquierdo)

DOMINGO

10:30 Presentacion: el grafeno en la impresión 3d, nuevas posibilidades 3d (Applynano Solutions)

11:00 Presentacion Proyecto Gutenberg ( Fulgencio Bermejo, IES Palmeral)

11:30 Presentacion Hormigeros imprimibles (Angeles Murcia,IES Palmeral)

12:00 Presentación empresa LEWIHE, fabricante de impresoras 3D (Juan Tendero, Monovar ,Alicante)

Las charlas tienen un formato de 20 – 25 min y 5 minutos de preguntas, para que sea mas dinámica

Talleres

11:30 12:30 Taller de drones (espacio Pumbs, Flodrone)

12:30 13:30 Taller de Escaneo 3d (espacio Pumps, Patrimonio Virtual)

17:30 19:00 Taller Freecad (En el aula Cammon de Ordenadores, empresa Plastic Dreams) Modelado en 3D para imprimir

Domingo

10:30   12:00 Taller de impresión para niños (relieves 3D, aula cammon )


Diseñador Frank Kolkman toma componentes de la impresora 3D para construir robot quirúrgico DIY

31 12 2015

Designer Frank Kolkman hacks 3D printer components to build DIY surgical robot.

ver video en el link :


Orla 3D Prototipos avanzados del Grado de Diseño

28 12 2015

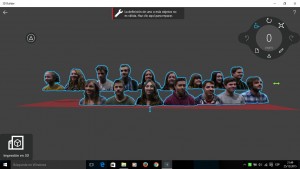
Hemos confeccionado la Orla 3D de la asignatura «Prototipos Avanzados» que se imparte en el tercer curso del Grado en Ingeniería en Diseño Industrial y Desarrollo de Productos.
orla


Charla sobre Realidad Aumentada

25 11 2015

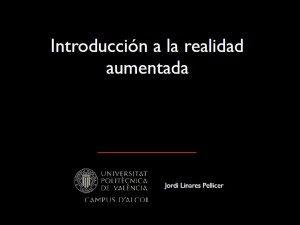
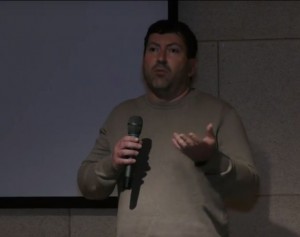
El pasado 18 de noviembre, el Profesor Jordi Linares, impartió una lección magistral sobre Realidad Aumentada a los alumnos del Máster Universitario de Ingeniería, Procesado y Caracterización de Materiales.

ra

jordi

(última foto Martes 17 de Noviembre, Lugar: SEDE UNIVERSITARIA DE MUTXAMEL.
Centre social José Bernabeu Alberola. Av. Carlos Soler 64. Mutxamel )


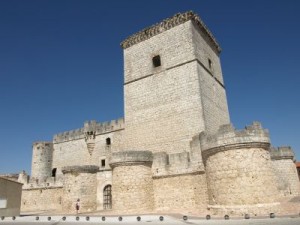
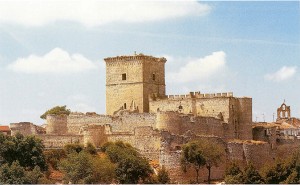
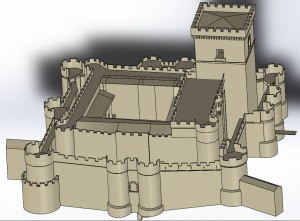
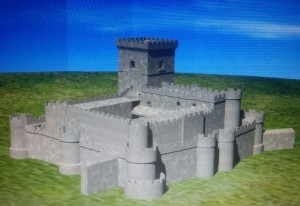
Reconstrucción 3D del Castillo de Portillo (Valladolid)

18 10 2015

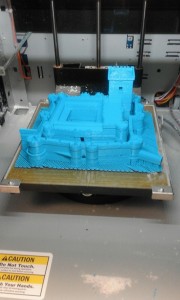
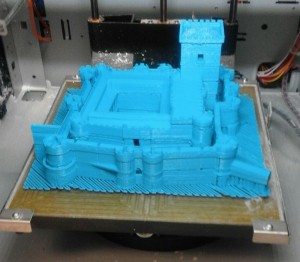
Hemos colaborado en la recontrucción virtual del Castillo de Portillo (Valladolid), usando técnicas de impresión 3D. La réplica se ha realizado en Salamanca (pronto os diré el autor).

OLYMPUS DIGITAL CAMERA

historia1

Portapapeles01

Despues un renderizado primario con Blender.

IMG-20150812-WA0001

Finalmente la impresión 3D…

IMG-20151016-WA0000 IMG-20151016-WA00001


Lanzan filamento de corcho para impresión 3D

13 10 2015
Autor:Margarita , fuente :http://www.3dnatives.com/es/lanzan-filamento-de-corcho-impresion-3d-07102015/

Publicista y Diseñadora gráfica. Másters en Comunicación y arte (UCM), Diseño gráfico (CICE) y Tipografía (UB). Apasionada de la impresión 3D y otras tecnologías de fabricación digital. Ex manager de Basque Fab Lab y co-fundadora de Lafa Crea. Actualmente soy Mayor de 3Dhubs en Bilbao, para los cuales organizo eventos para reunir a la comunidad de hubs.Abierta a participar de proyectos relacionados con creatividad y tecnología.

Lanzan filamento de corcho para impresión 3D

portadacorcho
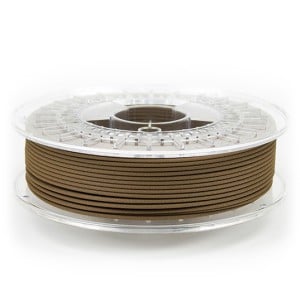
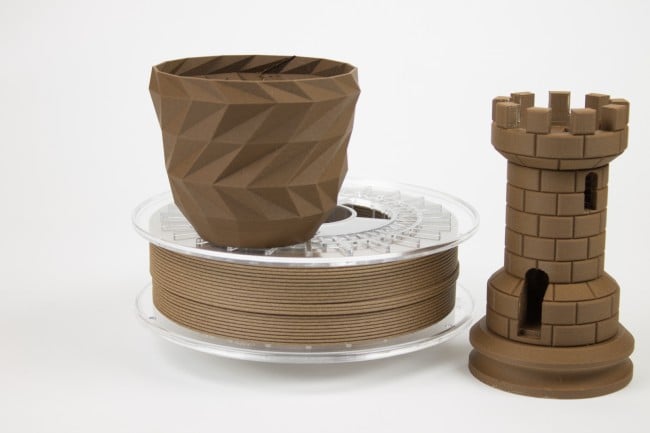
La marca de filamentos Color fabb, conocida por su desarrollo de filamentos especiales para impresión en FDM, continúa ampliando su abanico de posibilidades. Son especialistas en desarrollar materiales no convencionales como bambú ó madera, por mencionar algunos. Estos investigadores, consiguieron recientemente imprimir con un filamento de corcho, lo que permitirá a los makers y creativos explorar nuevos diseños. A día de hoy el corcho es un material muy utilizado por diseñadores, para aplicaciones como lámparas, libretas, maceteros, elementos de mesa, etc. Ahora con esta nueva propuesta, los creativos podrán aprovechar propiedades del corcho como la impermeabilidad, elasticidad, adherencia, etc, unido a la posibilidad de hacer figuras complejas con impresión 3D.

corcho 300x300

Corkfill, es el nombre de este nuevo material, compuesto de fibra de corcho y PLA/PHA. Imprimirlo es relativamente sencillo teniendo en cuenta que usa temperaturas de impresión similares a las del PLA convencional ( entre 210º -230º C). Sin embargo, el fabricante recomienda una velocidad de impresión de 40 a 60 mm / s para una impresión óptima, y usar cama caliente (aunque no es estrictamente necesario) a una temperatura de 50 a 60 ° C.

Su tono marrón ó café oscuro, se puede complementar con otros materiales como el bambú o la madera, y se vende en rollos de 650 gramos a  un precio de 39,95€. Así mismo, es posible obtenerlo tanto la versión de 1,75 mm  como la de 2,85mm, y lo puedes comprar directamente desde su página web 


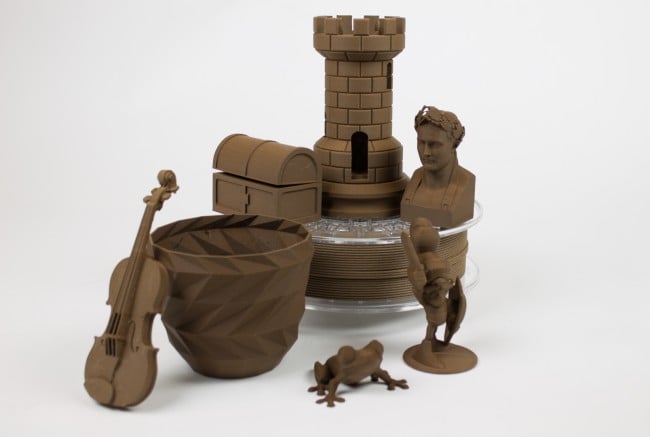
A continuación  un video en donde se puede ver como se imprime y unas imágenes de muestras realizadas con éste material:

corcho2

corcho 3


Cómo convertir tu smartphone en un proyector de hologramas 3D

2 10 2015

Autores: Culturainquieta.com

«Si tienes una caja vieja de CD, un smartphone y un poco de tiempo, puedes hacer un proyector de hologramas 3D.

El YouTuber Mrwhosetheboss demuestra cómo se hace esto en un breve tutorial y es tan fácil como construir un recipiente simple, de cuatro lados y colocarlo sobre el teléfono. Con un vídeo adecuado, una diminuta imagen en movimiento emergerá en el aire con un efecto hipnótico.

Mrwhosetheboss holograma Cultura Inquieta

La presentación de 2 minutos de duración proporciona instrucciones claras sobre cómo crear tu propio proyector. Si quieres probarlo, los materiales necesarios son cosas que probablemente tengas en tu propio hogar, incluyendo cinta adhesiva, tijeras, un lápiz, un cortaplumas, y una caja de CD de plástico.

Mrwhosetheboss holograma Cultura Inquieta2

Mrwhosetheboss holograma Cultura Inquieta3

A partir de ahí, sólo tienes que cortar y pegar cuidadosamente las partes entre sí, a continuación, cargar un video en tu teléfono (Mrwhosetheboss ofrece sugerencias), y ¡voilá! Puedes sostener un diminuto holograma en la palma de tu mano.»

Mrwhosetheboss holograma Cultura Inquieta4

Mrwhosetheboss holograma Cultura Inquieta5